Tackling Issues With Textured Ceilings
Removing popcorn ceilings is a task many homeowners face. These textured ceilings were popular in the mid-20th century, but they can now make rooms look outdated. The removal process can be tricky, with various challenges along the way. Thankfully, there are solutions to these common problems, ensuring a smoother experience for those taking on this project.
The Messy Nature of the Process
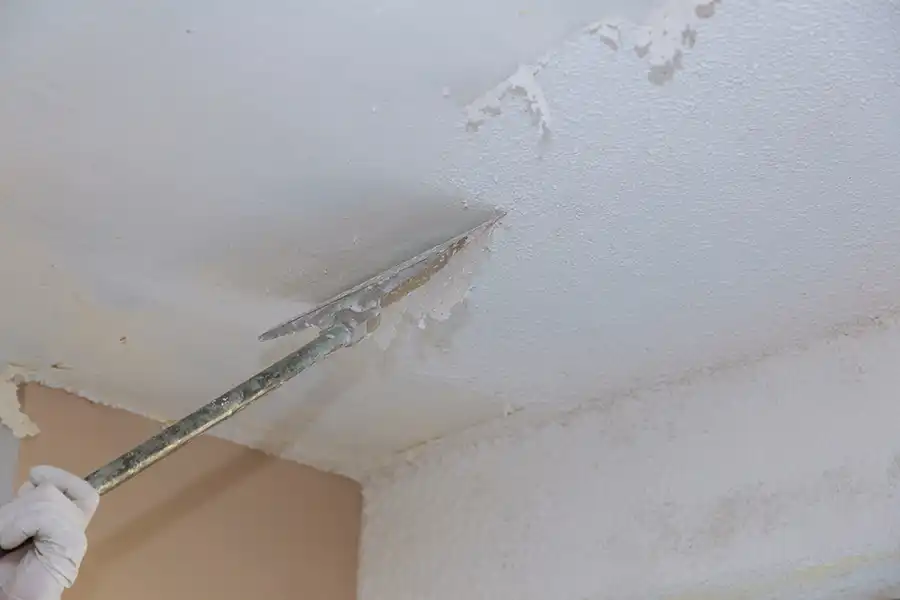
When dealing with popcorn ceiling removal, one of the first challenges is the mess it creates. Scraping off the texture sends dust and debris flying, which can coat everything in the room. A messy environment not only adds to the cleanup time but can also make it difficult to work efficiently. It’s crucial to cover floors and furniture with plastic sheets to minimize this issue and reduce cleanup efforts later.
Identifying Asbestos Risks
An essential aspect of popcorn ceiling removal is identifying asbestos risks. Popcorn ceilings installed before 1980 may contain asbestos, a harmful material if disturbed. Testing the ceiling for asbestos before starting the project is vital. If asbestos is present, hiring professionals for safe removal is necessary to protect your health.
Dealing With Ceiling Damage
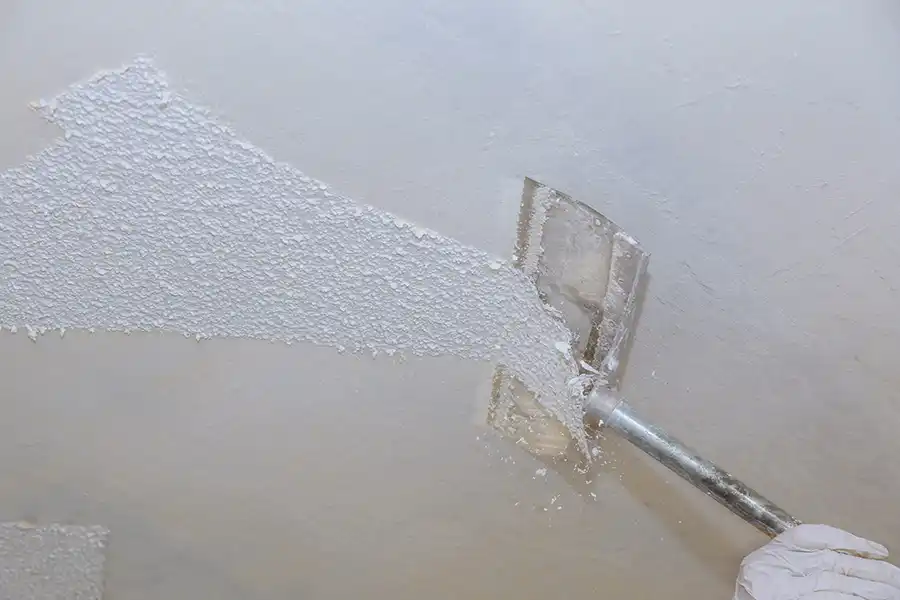
Another challenge is managing potential ceiling damage during removal. As you scrape away at the texture, you might inadvertently gouge or scrape the underlying drywall. To avoid this, use gentle pressure and appropriate tools like a wide-blade scraper. If damage occurs, patching compounds can help repair small areas effectively.
Efficient Removal Techniques
Efficient removal techniques are critical for a successful project. One method involves spraying water onto the ceiling to soften the texture before scraping. This approach reduces the effort required and minimizes dust production. However, too much water can damage the drywall beneath, so moderation is key. Using water wisely ensures that the removal process remains manageable.
Smoothing Out Imperfections
Post-removal, smoothing out imperfections becomes a priority. Popcorn ceiling removal often reveals uneven surfaces that need addressing. Sanding the ceiling lightly helps create a smooth finish ready for painting or other finishes. Use fine-grit sandpaper and patience to achieve a professional-looking result without damaging the surface further.
Choosing the Right Finish Post-Removal
Once you’ve successfully completed popcorn ceiling removal, choosing the right finish is essential. Options include painting, applying a new texture, or installing modern ceiling tiles. Consider factors such as room use, lighting, and personal taste when deciding. Each choice has pros and cons, so take time to evaluate what best suits your needs.
- Paint: Easy to apply and cost-effective
- New Texture: Provides a fresh look and hides minor imperfections
- Ceiling Tiles: Offers an upscale appearance but requires more investment
The Cost Factor in Ceiling Projects
Cost considerations play a significant role in ceiling projects. Factors influencing cost include room size, materials needed, and labor costs if hiring professionals. While DIY approaches save money upfront, professional services offer expertise that could prevent costly mistakes. Weighing these options helps ensure that you get value for your investment while achieving desired results.
Your Path to a Smooth Ceiling
If you’re facing challenges with old ceilings, reach out for expert guidance. Located in West Jordan, UT, I provide personalized advice tailored to your needs. Call (801) 640-1811 today to learn how Mid-Valley Painting can assist with your renovation goals.

